Documentation Menu
WordPress Overview
WordPress is the system that this website is built on. WordPress is a content management system (CMS). It is considered the best CMS for easily managing content. WordPress is by far the most popular CMS, it is used to run websites such as Tech Crunch and The New York Times . It also performs very well in terms of SEO and speed.
You can learn more about WordPress by using the links below:
Logging into WordPress
Before you can make any changes to the SGW Website, you will need to log in. The login for your site is found at the following URL – www.sgwater.com.au/wp-admin
WordPress Dashboard
Once you’ve logged in, the WordPress Dashboard appears. This is your main administration homepage. At the very top of your Dashboard (and across every page) you will see the name of your site in the header area.
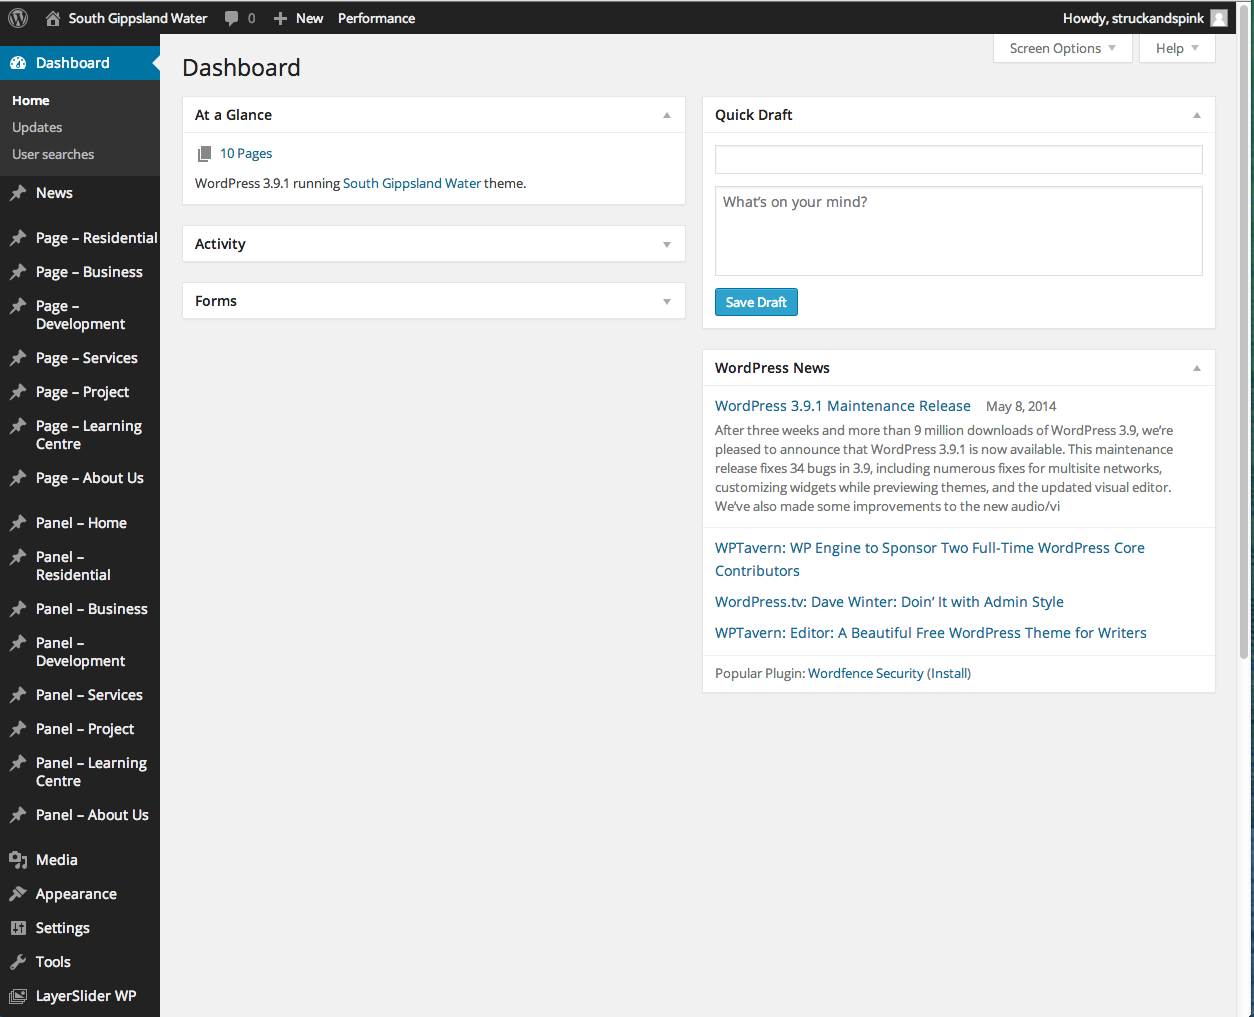
Down the left hand side of the Dashboard and on every page you will see your main navigation menu.

After you are logged into the back-end you will see be able to see a new admin menubar on the website.
By using this bar you can also edit and add new pages and content as you browse the website provide you are logged into the backend.
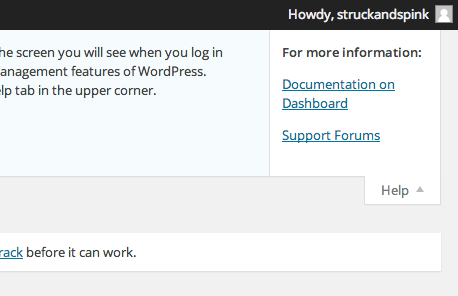
Dashboard Help tab
On the top right hand corner of the page you will see “help” tab. If you click this you it will show links for further WordPress support and documentation

Adding a new page
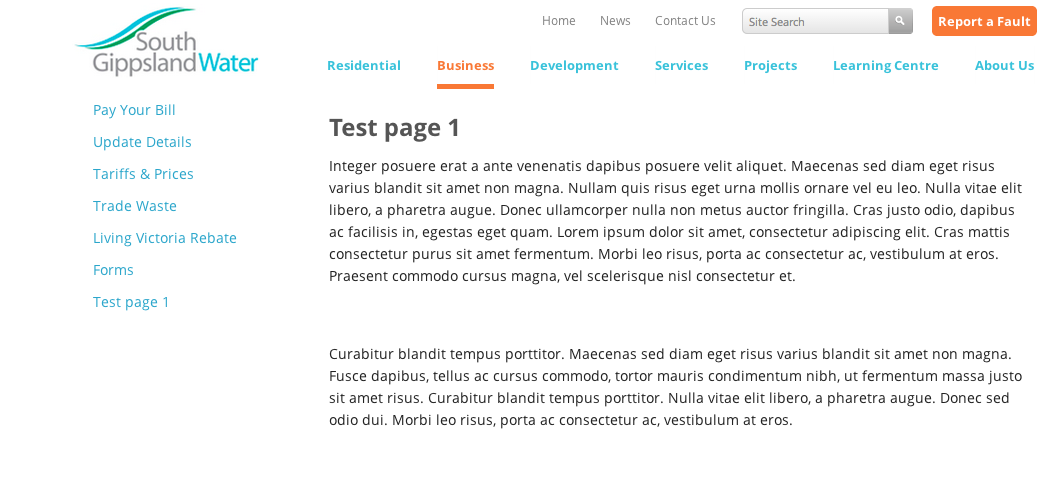
For this example we will create a new page for the business section of the website
To Add a create a new page for the SGW website follow the steps below:
Setting up the page and page content
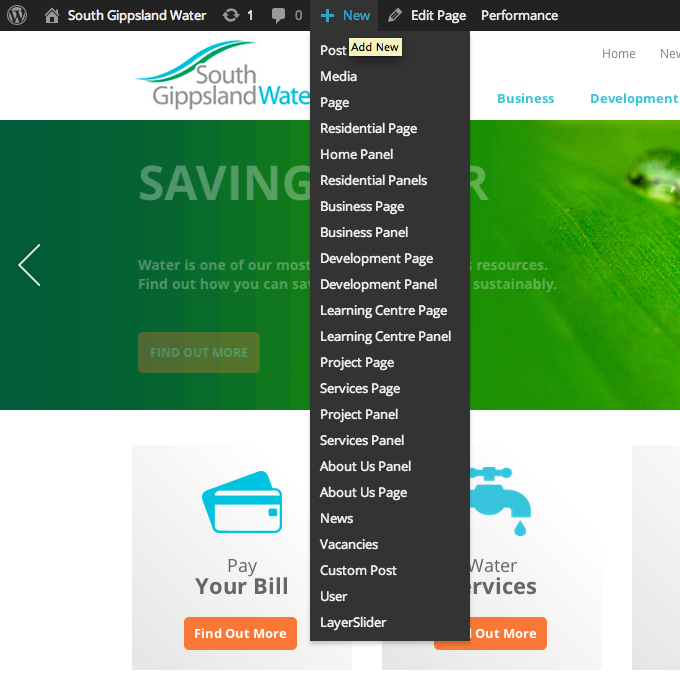
- Go to the Dashboard main menu on the left of the page and hover over the “Page-Business” link.
- Click “Add Business Page”
- Give a title to your new business page
- Paste in the content for the website.
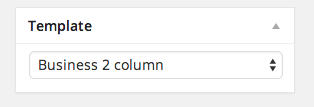
- IMPORTANT You need to set the template to “Business 2 Column” in the sidebar of the edit page in order for the page to display correctly.
- Set the Parent to “Business” from the Attributes sidebar drop down.
Adding the new page to the business section menu
Now that you have created your new page, you need to add it to the business section navigation menu.
- Go to the Dashboard main menu on the left of the page and hover over the “Appearance” option.
- Click “Menus” from the sub-menu
- On the Menu page you will see the drop down to select a menu to edit. Choose Business Menu.
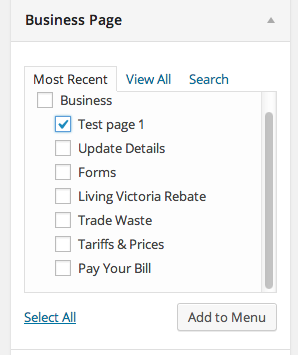
- Next, choose Business page from the left sidebar. This will bring up a list of the page that are within the Business section. Choose the new page that you just created and click “Add to Menu”
- Finally, click “save menu” and view your new page on the website.

Editing an existing page
For the purpose of example we will make a content change to you Contact Us page.
- Go to the dashboard and choose “Page – About Us” from the main menu on left of the page.
- From here, choose contact us from the list of pages.
- After you have clicked on the link for “Contact Us” you will be brought to the edit page.
- Edit the content you wish to change.
- Once you are happy with the content changes click “Update”
Adding a new post for the News section
- Hover over “News” option from the main menu on the left in the admin area.
- Choose the “add News” option.
- Give your news post a title.
- Paste the content into the editor.
- Give “News Content” from the template option in the sidebar.
*Should the Permalinks update automatically?*
Updating the maps
- To update a map go to the Maps
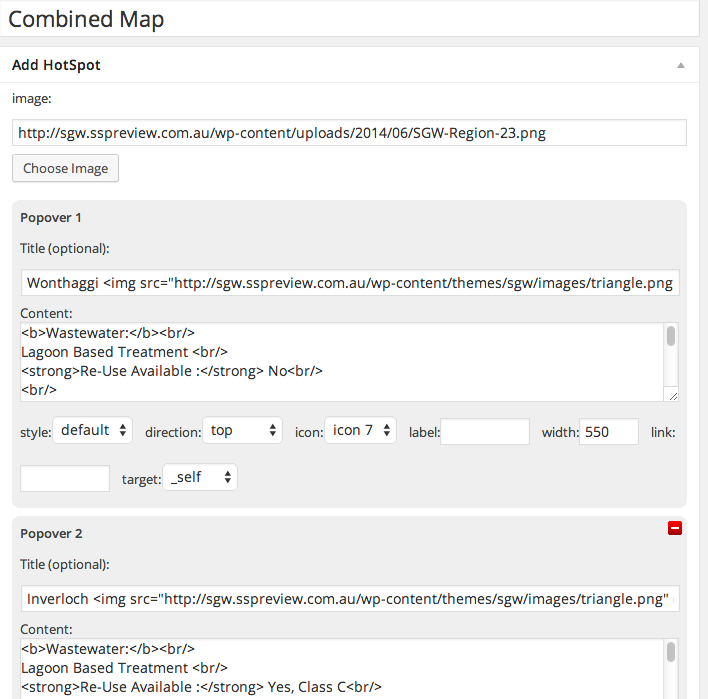
- Click “Image HotSpot”
- Choose the map you want to update.
- If you need to edit the content of a hotspot then find the hotspot and change the content where appropriate.
 If you need to change the position of a marker location on the map, please scroll to bottom of the edit page.3
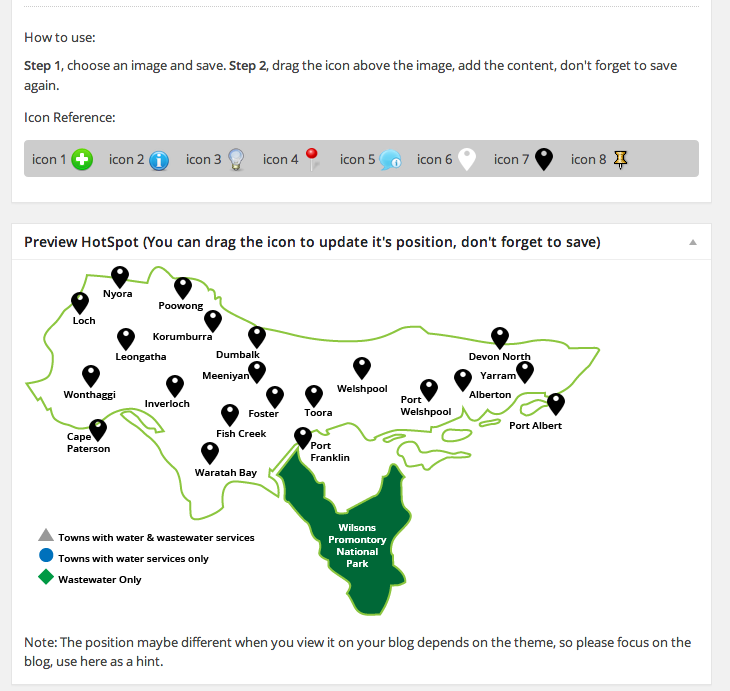 Here you will see a preview of the map and its hotspots. To move one of the markers, simply drag the appropriate black marker to the new location.
- Finally, click “update” to save your changes.
Uploading a new PDF
While updating the website you might find yourself needing to upload a new PDF to an existing page. Let’s add a new pdf to the tenders pages.
- Go to the tenders page and click “edit project page” from the WordPress dashboard bar.
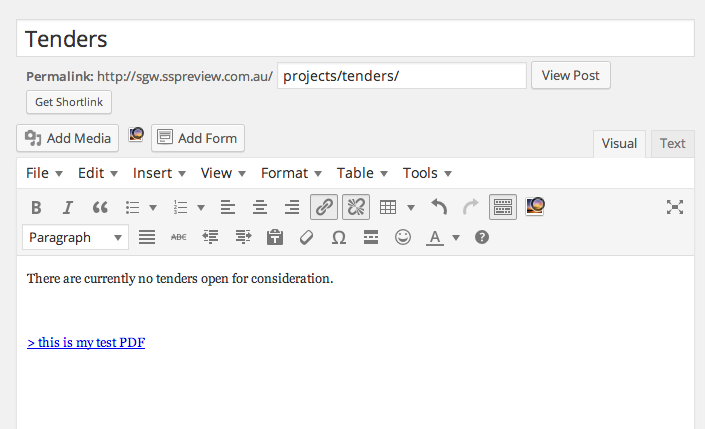
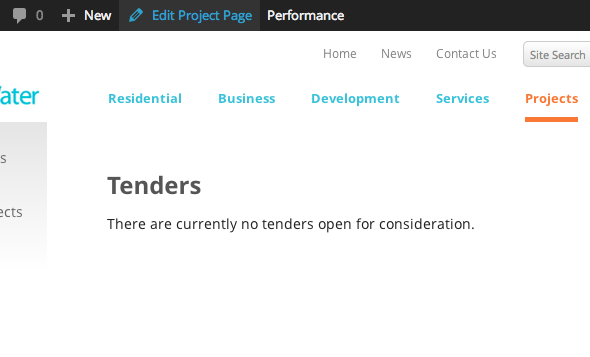 From here we can edit the tenders page and add our new PDF.
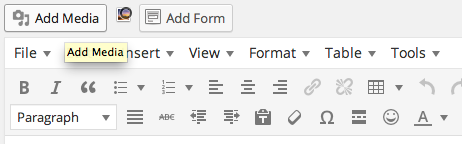
- To upload PDF and add it to your page, choose “add media” from the content editor.
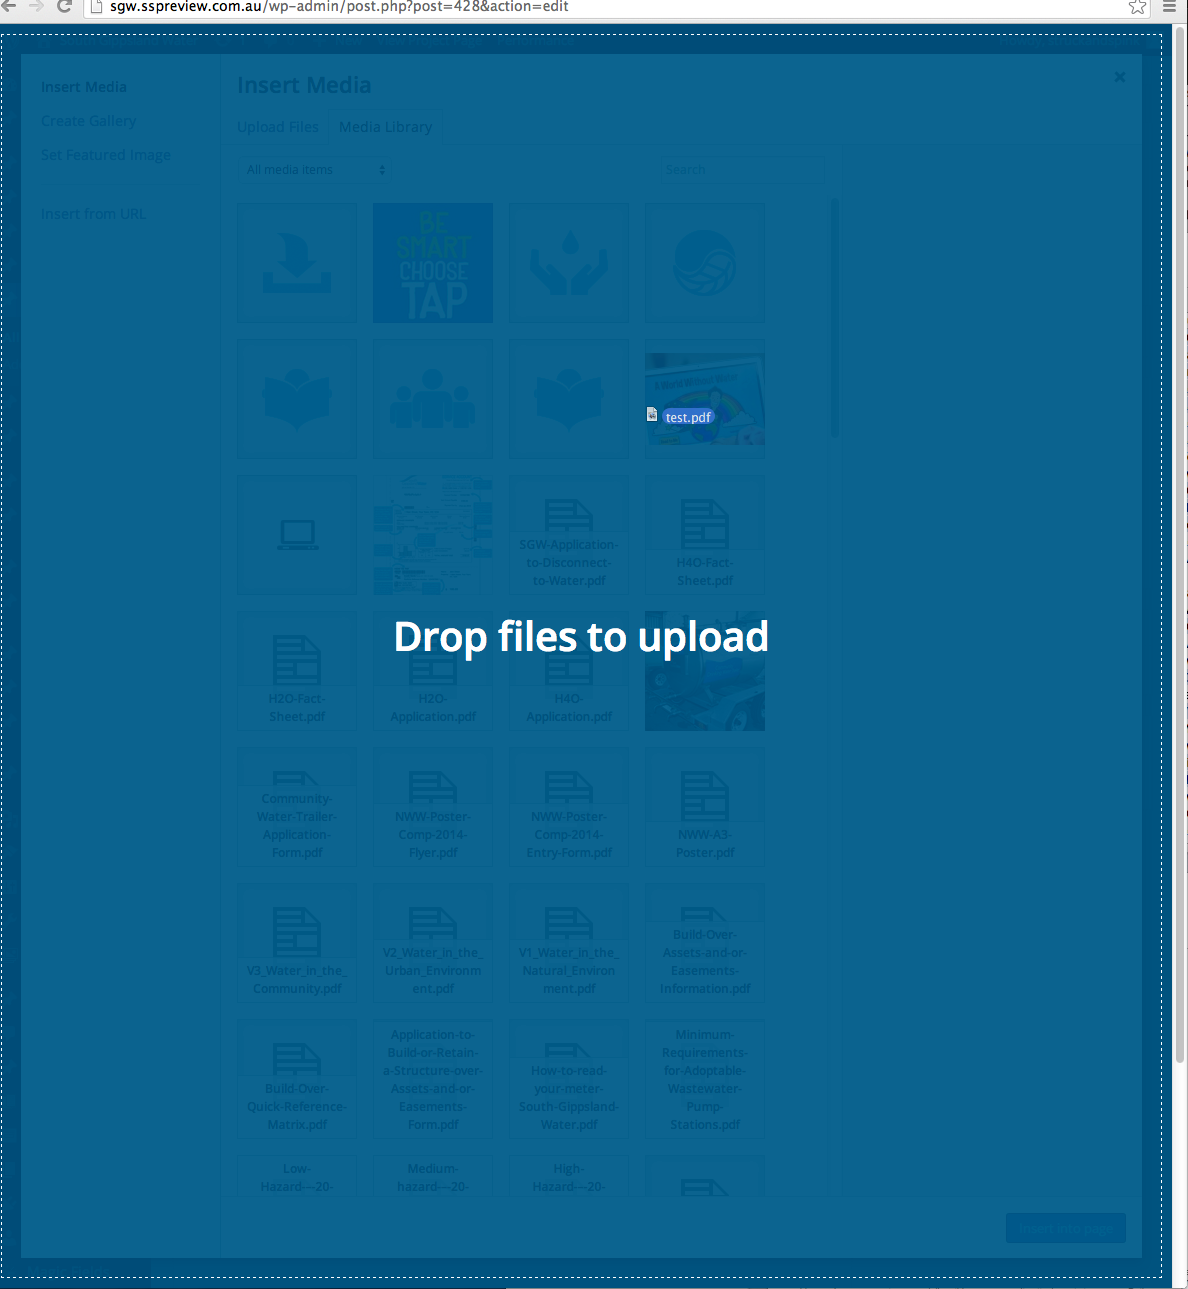
 From here you can load your new PDF. To upload, choose the “upload files” option from the top of insert media window.
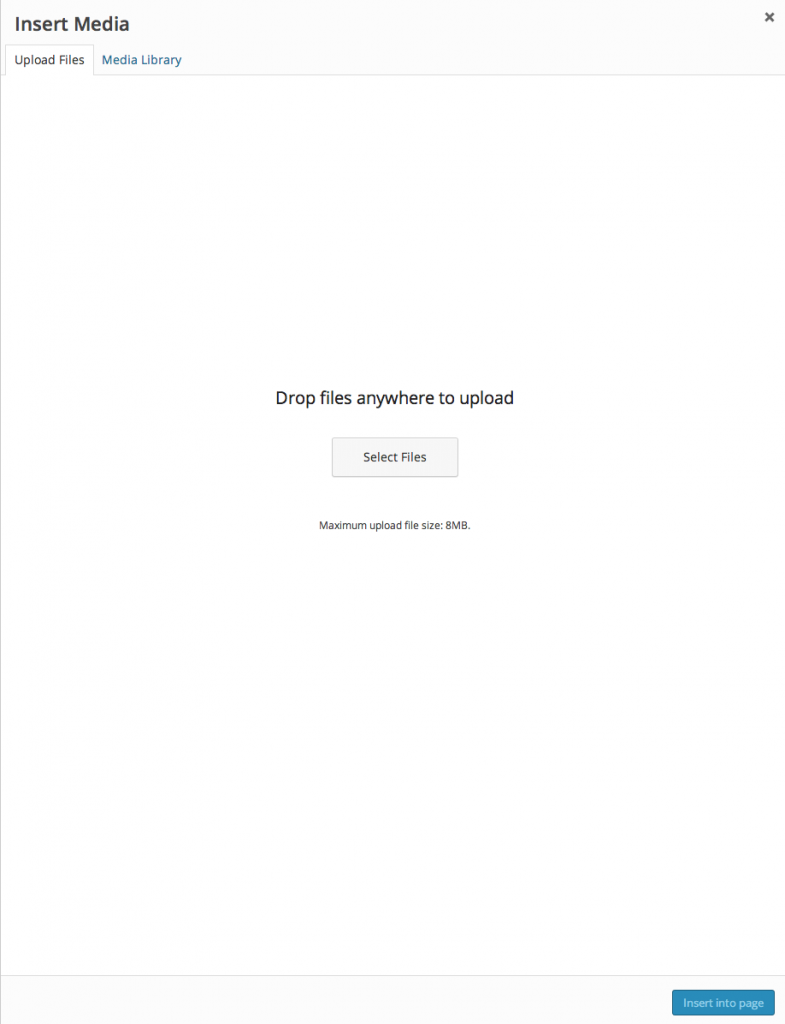 Select files to upload from your computer or just drop the files in the window to upload.
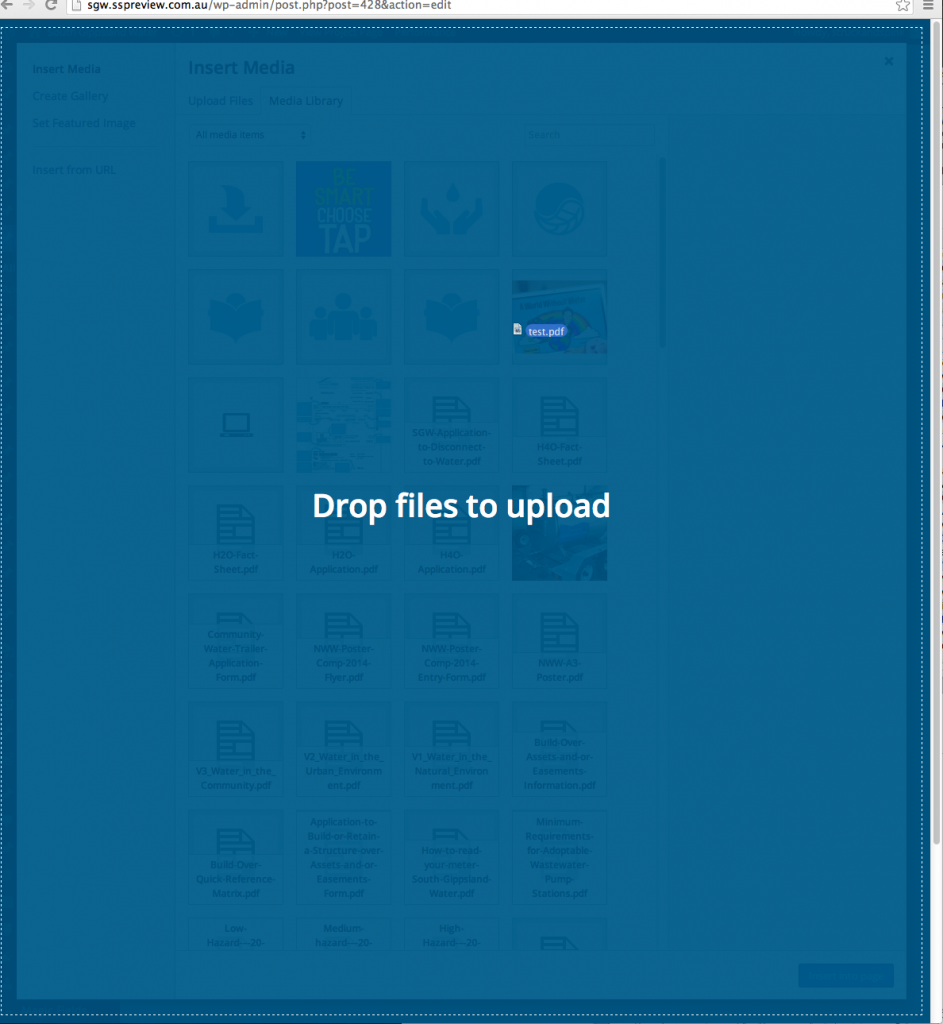 After you have successfully uploading you will need to give your new PDF a title. Your title will be the link using to view the PDF so make sure to make it a descriptive as possible.
- Once you have give the PDF a good title, click the “insert into page” button.
- You should now see the link has been created in your edit page.
- Click the update button and view your new PDF link on the tenders page.

Uploading a new job description / removing
Adding the job vacancy to the careers page.
- Navigate to the careers page by going to about us and choosing Careers from the sub navigation menu on the left.
 Click ‘Edit About Us Page’ from the admin bar’
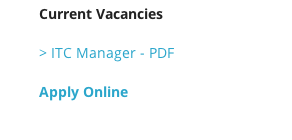
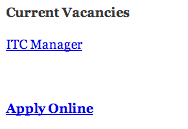
- Once in the edit page, scroll down to the current vacancies section at the bottom of the page
 Put the cursor below the current vacancies heading and click add media from the visual editor options.
- Upload your job vacancy PDF
- Give your PDF a good title as this will become the link for the PDF.
- Select the “Insert into Page” button.
- You should now be able to see the pdf link. Save your changes but hitting the update button.
Adding new job vacancy to vacancy form.
Now that we have added our new vacancy, we need to add it to our list in our vacancy application form.
- Log in to the admin area and find forms in the main menu on the left of the page.
- Click on the forms and find “Vacancies Form” from the list and click this.
- In the first field we can see a drop down for “Position applying for”.
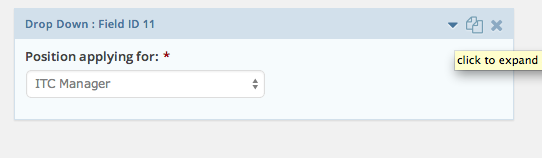 Hover your cursor over this and you will see a arrow pointing downward. Click this to expand box and edit the drop down.
- From here you can edit the choices for the drop down.
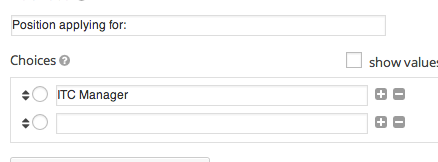 Click the “+” icon on the right of the existing choice to create another choice below it.
- Fill In this new drop down choice with the Vacancy that you created.
- Save your update buy choosing the “update form” button.
Landing page tiles to another topic and new link
At some stage you might want to freshen up the homepage of the website but switching one of the homepage panels. Follow the steps below to carry out this task:
- Navigate to the admin area and find “Panel – Home” on the main menu. Click on this.
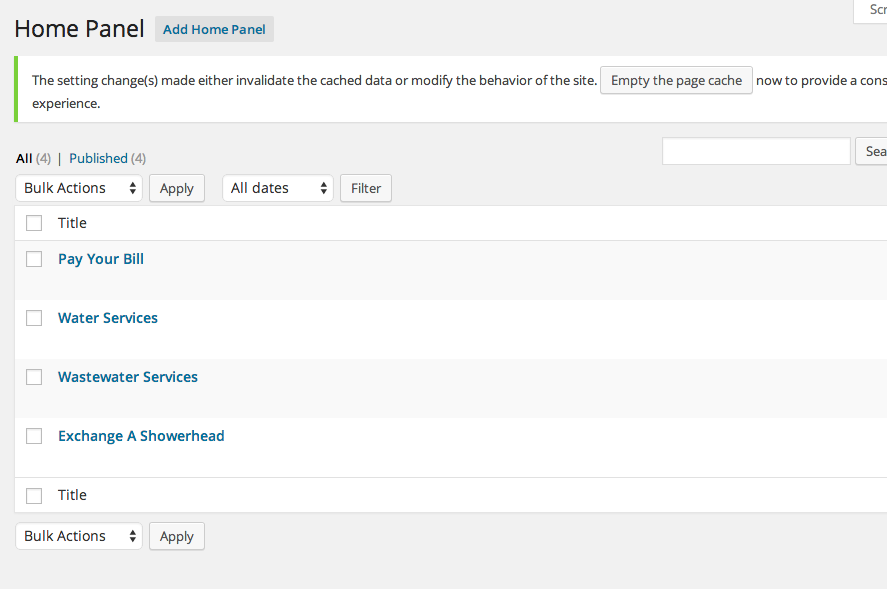 First, we need to hide the panel that we want to swap out. For this example we will swap out the “Exchange A Showerhead”. Hover over this panel and choose “Quick edit” from links below the title.
- Once your are in quick edit change the status to “draft” and now we will add our new homepage panel.
- Click “Add Home Panel” at the top of the home panel edit page.
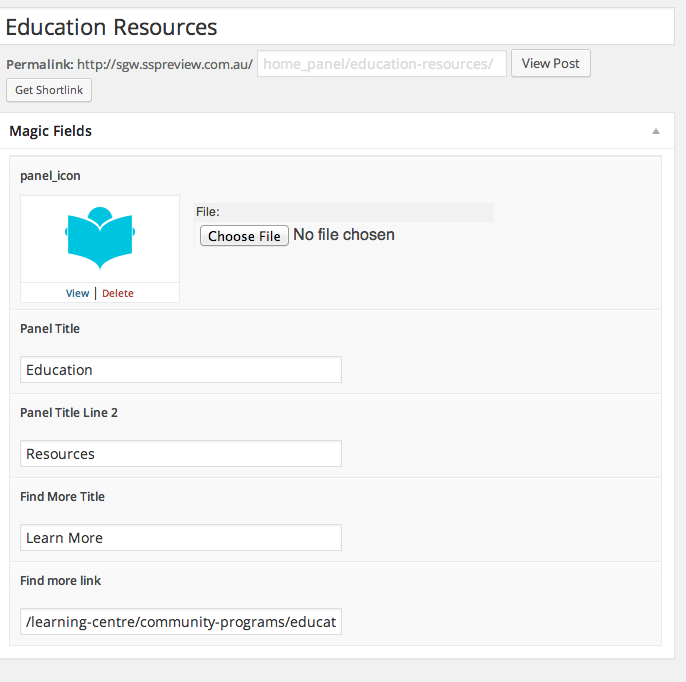
- Let’s add Education resources to our homepage panel, so give the Title “Education Resources”
- Next we need to upload our icon image.
- Now we need to give our panel a first and second line title.
- Next we create our click through link, give a call to action title and paste in the link to the new page we want to the panel to go to, in this case the education page.
- Save your changes by hitting update and go to the homepage to see your changes.
Troubleshooting
In the event of something going wrong with your website wordpress.org is your best resource for troubleshooting your problem. WordPress has a huge community of users and developers and in general are very helpful. Also, we find from experience that, if you are experiencing a problem with your WordPress website that it’s worth while doing a quick google search as there is a high probability that someone else has had the same problem and solved.
Should you need further assistance feel free to contact our webteam for help:
Adding Incident Icon

With the incident icon, it is found under the Panel – Home section:

There can only be a max of 4 icons on the home page. So you can choose one to disable temporarily (make a draft) so you can activate System Updates & Alerts.
When editing the System Updates & Alerts, it is the same as creating a new Home Panel Icon except you link it to the news article as shown below:
